How to move a washing machine safely for stairs and tight spaces
Moving a washing machine is one of the heavier, higher-risk tasks on moving day. This guide gives an ordered plan you can follow at home: a concise pre-move checklist, five numbered steps from disconnection to testing, safety limits, common mistakes to avoid, and clear cues for when to hire professional appliance movers in Ottawa.
At-a-glance checklist before you start
Decide whether you will DIY or hire pros. If you face any of the items below, consider hiring a team: narrow stairways, long carries, elevators with restrictive rules, tricky parking or steep driveways. For DIY moves, gather the items and people below before you touch the machine.
- Crew: two able adults minimum; three if stairs or long carries.
- Equipment: appliance dolly with straps, moving straps or ratchet straps, moving blankets, cardboard or floor protection, utility knife, bucket or towels, hose and small parts bag, appliance skates (optional).
- Vehicle: truck with a ramp or liftgate; plan to keep the washer upright during transport.
- Time: allocate at least 45–90 minutes for disconnection, protection and loading for a standard carry; longer if stairs or tight turns are involved.
- Service backup: if you prefer a professional quote, Let's Start Moving lists appliance moving and a video-quote option for fast estimates on its appliance moving page.
Many retailer and moving guides emphasise getting help and using an appliance dolly for safety; see the step reference from Home Depot for disconnection and the U-Haul guide for dolly and transport tips when you plan your move.
Step 1: prepare, disconnect and drain safely
Stop here until you have the right tools and someone to help. Follow these sequential actions:
- Turn off power and water. Unplug the washer from the electrical outlet. If there is a fused switch or breaker for the laundry, switch it off. Shut the water supply valves to the washer and open the lid or door to confirm power is off.
- Drain remaining water. Place a bucket and towels nearby. Disconnect the drain hose and lower it so trapped water can run into the bucket; many machines hold some residual water in the tub and hoses.
- Disconnect hoses and fittings. Unscrew or unclip hot and cold hoses and any drain connectors. Cap or bag the hose ends and store small fittings and clamps in a labelled plastic bag taped to the machine or placed in the moving box for appliance parts.
- Secure the power cord. Coil the cord and tape it to the rear panel so it cannot tangle during the carry.
These steps reduce the risk of water damage at both locations and avoid electrical hazards; retailer and consumer moving guides cover the same precautions for safe appliance removal.
Step 2: secure the drum and remove accessories
Vibration and drum movement are the most common causes of internal damage in transit. Do not skip this section.
- Install transit bolts if you have them. Many modern washing machines include manufacturer transit bolts that lock the drum in place for transport. If you saved those bolts from the original installation, install them now and tighten to the manufacturer torque instructions.
- If you do not have transit bolts, pad the drum. Use moving blankets and towels to immobilize the drum. Place padding around the inner tub and clamp lightly if needed; the goal is to limit lateral movement without stressing suspension parts.
- Remove pedestals, detergent drawers and accessories. Take off pedestals, dryer stacking kits and any removable trays. Moving these separately prevents damage to the machine and reduces weight for the carry.
Manufacturer and moving guides recommend securing the drum or transporting the appliance upright to prevent damage. Transit bolts and careful padding are accepted methods to protect internal parts.
Step 3: protect floors, doorways and plan the carry
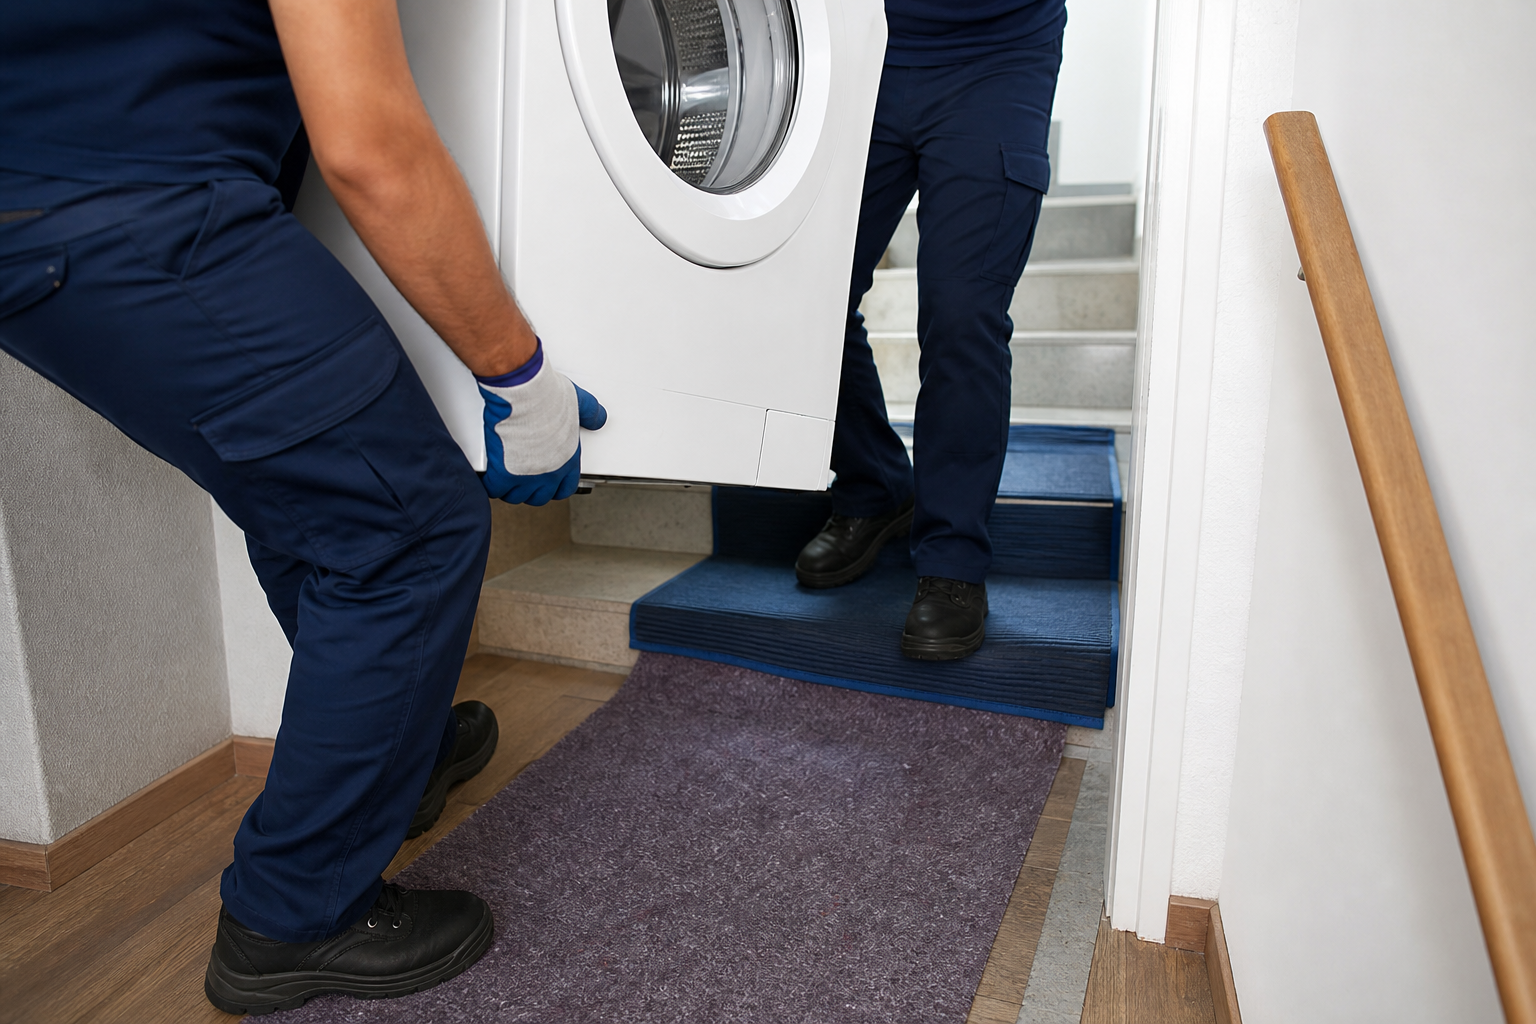
Plan your route from the machine to the truck before lifting. Protect floors and door frames and mark any tight turns so helpers can position themselves correctly.
- Floor protection: lay down cardboard or moving floor protectors and use moving blankets at door thresholds to prevent scratches.
- Door and corner protection: pad door frames and corners with blankets to avoid gouges on both the washer and walls.
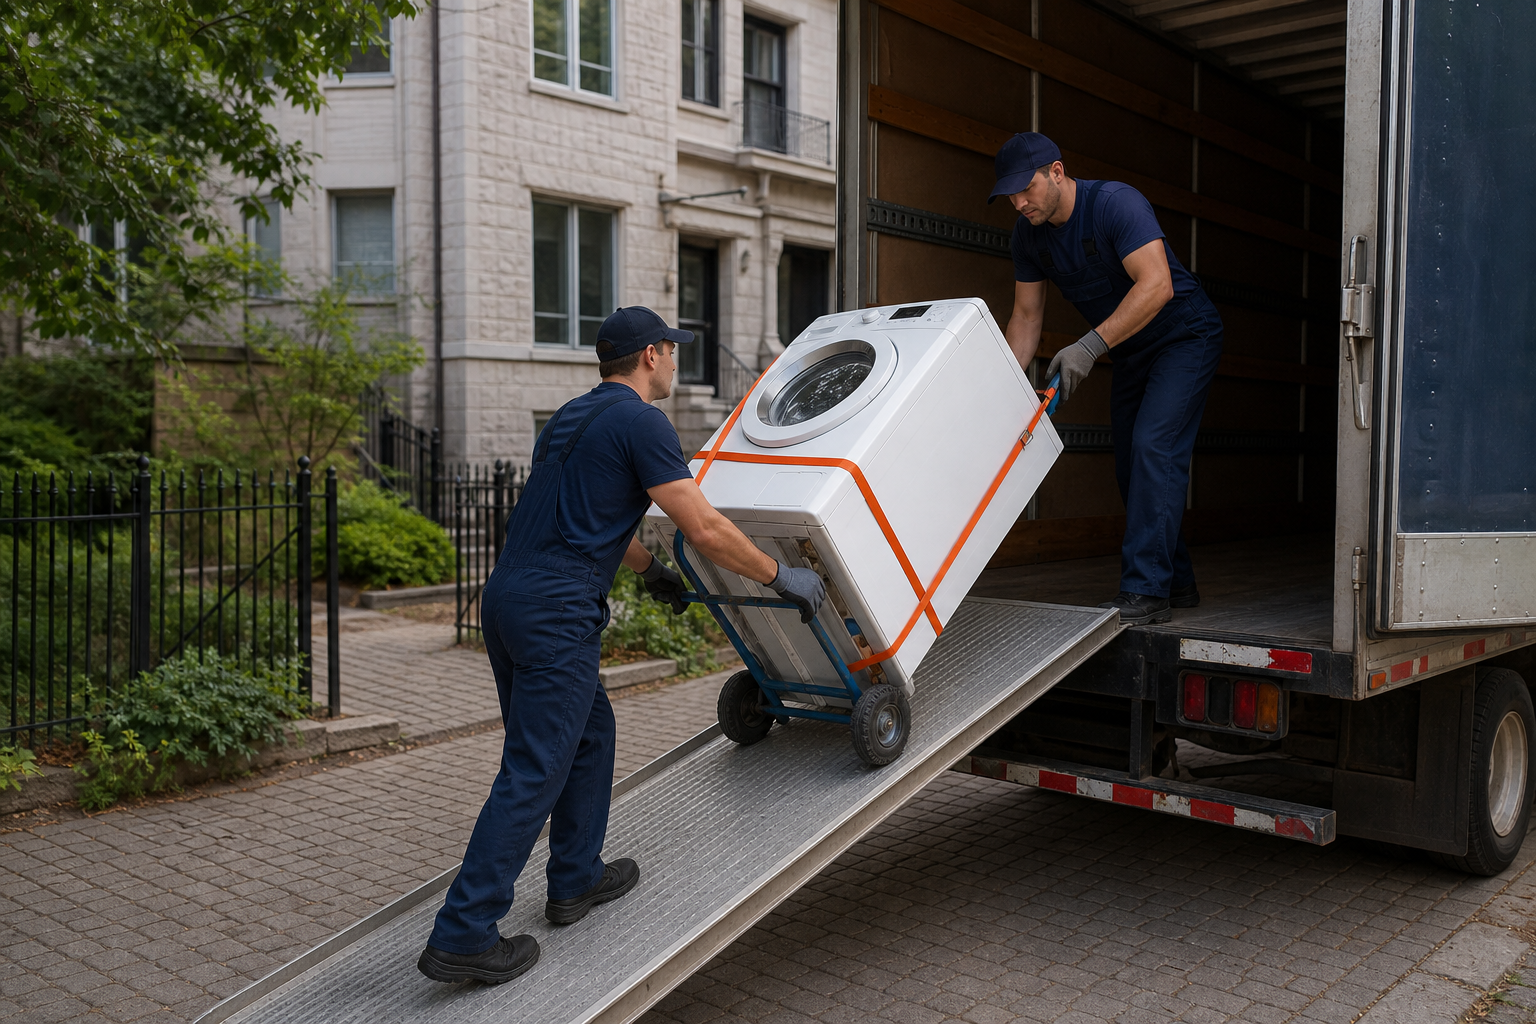
- Use an appliance dolly: tip the washer slightly and slide the dolly under the base. Secure the washer with the dolly straps and keep the machine upright. An appliance dolly with straps reduces the need for lifting and lowers injury risk.
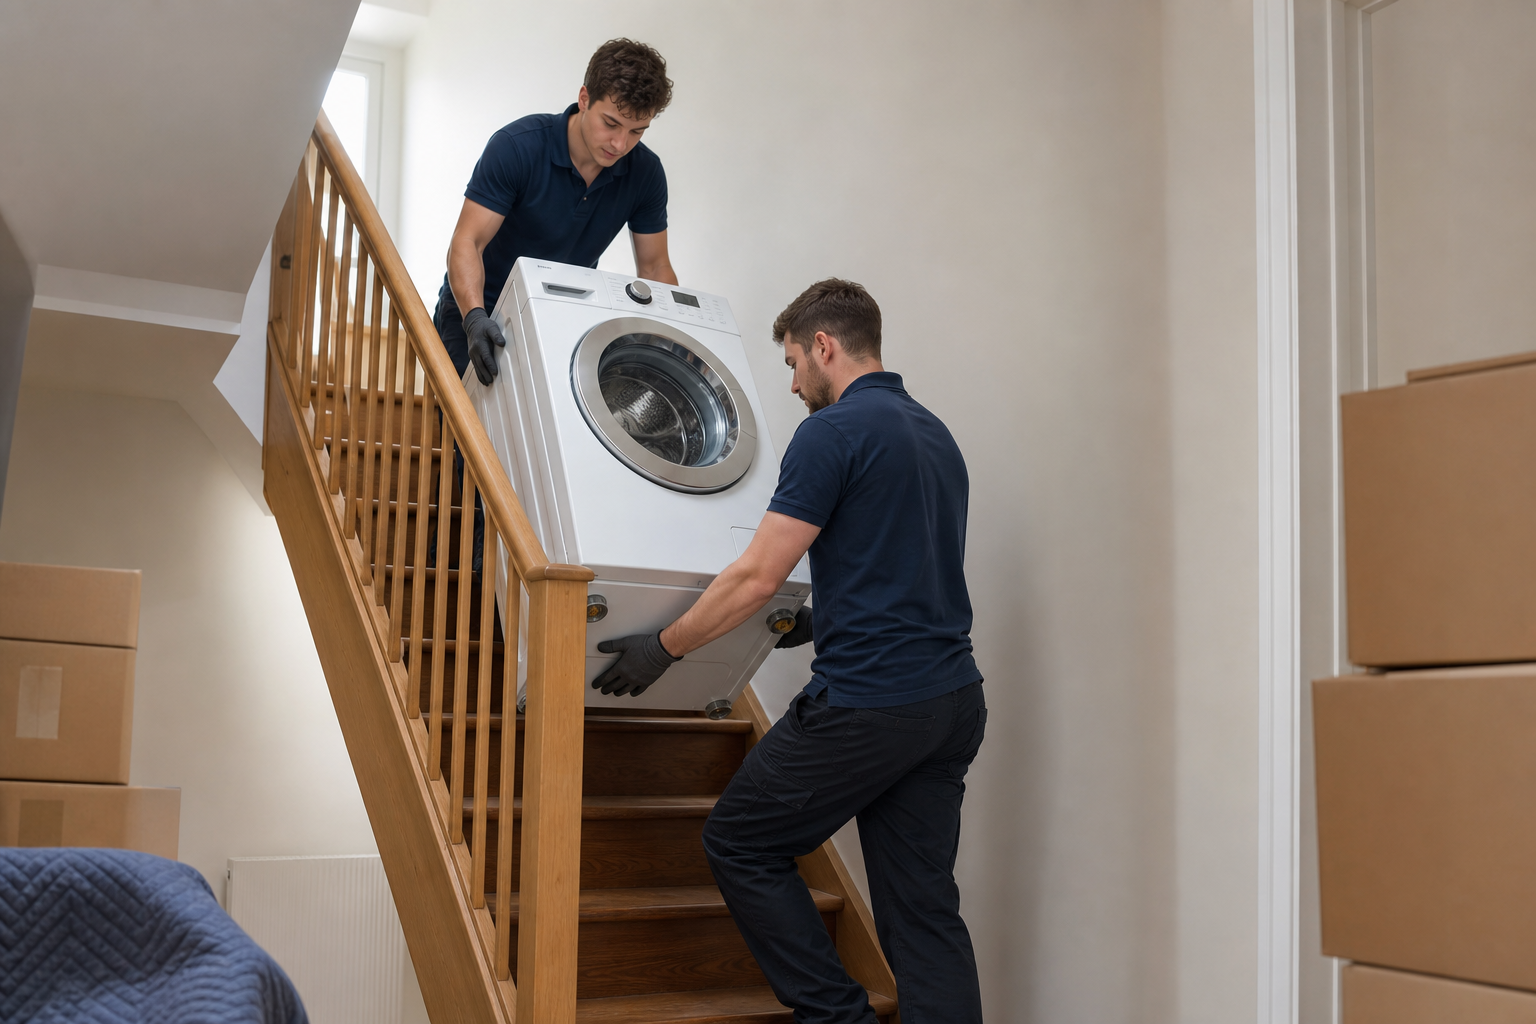
- Two-person lifting technique: when stairs are required, one person should be above the unit guiding, the other below supporting. Use leg power, not back strength, and move slowly in short steps. If the stairwell is too tight, stop—this is the point to hire professionals.
Authoritative moving guides show how protective padding and an appliance dolly limit damage and injury during carry-outs.
Step 4: load, transport and secure the washer in the truck
Keep the washer upright whenever possible. Laying a washing machine on its side can allow motor or pump oil to migrate and place suspension components under stress; movers and appliance guides warn this can cause mechanical failure, so upright transport is the safer option and should be your default plan.
- Position in the truck: load the washer upright against a solid wall of the truck; place heavier items near the truck floor and the washer toward the centre to reduce sway.
- Strap it down: use two ratchet straps or appliance straps: one at the top third and one at the bottom third of the washer, anchored to truck tie points. Add moving blankets between the washer and surrounding items to prevent scuffing.
- Avoid long lateral motion: brace with soft blocking (blankets rolled and wedged) to stop the washer from sliding during transport.
Moving guides and professional moving sites stress upright, strapped transport and explain the oil migration and suspension stress risk if machines are laid on their sides; follow those precautions when planning your route.
Step 5: reinstall, reconnect and test at the new home
Once the washer is in place, follow these steps before you call it done.
- Remove transit bolts or padding. If you used transit bolts, remove them and keep them for future moves. If you padded the drum, remove the padding and check for loose parts inside the drum.
- Level the washer. Use a spirit level and adjust the feet until the machine is level front to back and side to side to avoid vibration during the spin cycle.
- Reconnect hoses and power. Reattach hot and cold hoses, tighten by hand and then give a final quarter turn with a wrench. Open the water valves slowly and check for leaks. Plug the machine in and check that cords are not pinched.
- Run a short test cycle. Run a rinse and spin cycle with no clothes to verify there are no leaks and that there are no unusual noises. If you hear grinding, clunks, or persistent imbalance that you did not have before the move, pause and investigate rather than continuing full loads.
Retailer and moving advice recommend these reconnection and testing steps to catch installation issues early and prevent water damage or mechanical failure.
When to hire professional appliance movers in Ottawa
If any of these conditions apply to your move in Ottawa or Nepean, hire professionals:
- Narrow staircases or tight stairwell turns where a dolly cannot be used safely.
- Elevator rules that restrict size, weight or hours for moves.
- Long carries from building entrance to truck, or limited curbside parking and no nearby loading zone.
- Complex installations such as stacked units, gas dryers, or built-in cabinetry requiring removal.
- Any circumstance where you or your helpers lack confidence, correct equipment or strength.
Professional movers handle heavy carries, secure the appliance correctly, and usually include transit insurance. If you want a local provider, Let's Start Moving lists appliance moving on its services page and offers a video quote option that estimates cost by volume and distance to help you decide quickly about booking professional help.
How to request a video quote
Record a short walkaround showing the washer, the stair or elevator route and outside parking access, then submit it via the appliance moving page to get a fast estimate based on volume and distance; this is often quicker and more accurate than written descriptions alone.
Common mistakes, risks and quick troubleshooting
Know these frequent errors and what to do if they occur.
- Transporting on its side: risk of oil migration and suspension damage. If this happened, keep the washer upright for 24 hours before running it and inspect for leaks.
- Failing to secure the drum: causes banging during transit and may break suspension parts. If you hear banging on first use, stop and check for loose components.
- Inadequate floor protection: can result in scratched hardwood or torn tile. If floors were damaged, photograph and document the condition for any insurance or claims.
- No test cycle after installation: undiscovered leaks can cause water damage. Always run an empty cycle immediately after reconnecting.
If you are unsure about damage or hear unusual noises after moving, pause and contact a qualified appliance technician. If movers were hired, contact them promptly to report issues while the move details are fresh.
Frequently asked questions
Can I lay a washing machine on its side for transport?
Short answer: avoid it. Laying a washer on its side can allow oil from pumps or motors to migrate and place suspension components under stress. If you must, keep the machine upright as soon as possible and wait 24 hours before running it. Major moving guides and appliance manufacturers recommend upright transport when feasible.
How many people and what equipment do I need to move a washer safely?
At minimum two people plus an appliance dolly with straps. Add a third person for stairs or difficult carries. Use moving blankets, straps, and floor protection to reduce risk. Retailer and moving resources emphasise getting help and using the dolly to avoid injury.
Will moving my washing machine myself void the warranty?
Warranty terms vary by manufacturer. Simple transport and correct reinstallation do not usually void a warranty, but damage from improper handling might not be covered. Keep transit bolts, document how you moved it, and check your washer’s warranty conditions or contact the manufacturer if concerned.
Do Ottawa movers include disconnect and reconnection of appliances?
Services vary by company. Some movers offer disconnect and reconnection as part of appliance moving, while others exclude plumbing or electrical work. Check the moving company's service page or ask during the quote; Let's Start Moving lists appliance moving and provides a video-quote option to clarify the scope before you book.
What should I do if the washer makes noise after moving?
Stop using it and run a short empty cycle to diagnose. Check that transit bolts were removed, that the machine is level, and that no packing materials remain inside the drum. If noise persists, contact the moving company or an appliance technician to inspect suspension and motor components.
Request a video quote from Let's Start Moving for appliance moving
Talk with Let's Start Moving
Contact Let's Start Moving to ask about the next step and confirm which options fit your needs.